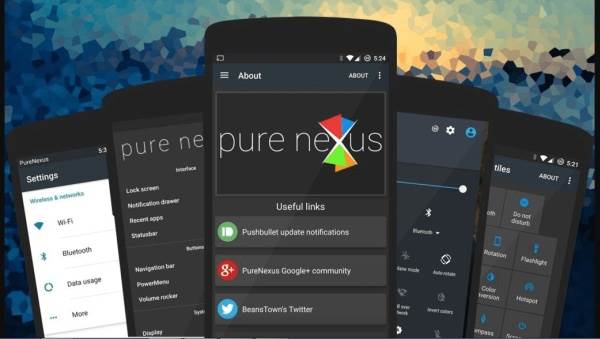
The Moto G 2015 is one of the best looking Android smartphones on the market, and it continues to impress even today. It is now at least a year old, and most of the warranties have expired, so if, you have one of these bad boys, you don’t have to worry about avoiding any warranties when you root it and install a custom ROM.
If you want a much more stable Android experience with additional features that dont stray too away from the Android purity, this ROM made just foryou. The developers have explicitly explained that they aim to keep the Google vision in line and will not go down a different path. This is a stable ROM with true and tested features as well as minimal bugs, so you can be sure that you will be having a wholesome experience with this ROM.
Tips Before Installing A Custom ROM On Your Moto G 2015
- As your Moto G 2015 data will be deleted, you should create a complete backup of your phone. You can also view our list of the best Android backup apps.
- Make sure that your Moto G 2015 is charged at least 70%.
How to install Pure Nexus 7.1.2 Nougat on Moto G 2015
-
– Download APure Nexus 7.1.2 Nougat For Osprey
– Download APure Nexus 7.1.2 Nougat For Merlin - Transfer the downloaded Pure Nexus ROM zip, in your Moto Z device.
- Turn off / Switch your device.
- Press and hold Volume Down + Power to boot your Moto G device into TWRP Recovery mode.
- Do not forget to perform a nandroid backup. Goto Backup option in TWRP and select all the partitions including System, Data, Boot and swipe right to backup.
- After performing the ROM backup, go back to the TWRP main menu and tap the WIPE button. Then, select SWipe to factory reset
- Next, Goto TWRP main menu & goto Install option.
- Locate the Pure Nexus downloaded zip file & tap on it. Now Swipe to Install the ROM.
- Once the installation process is finished successfully, From recovery select “Reboot” and enjoy.
This is a pre-rooted and pre-BusyBox ROM. It is also deodexed and zip aligned. The tool provided will help you with system settings, Notification panel settings, as well as status bar settings.

