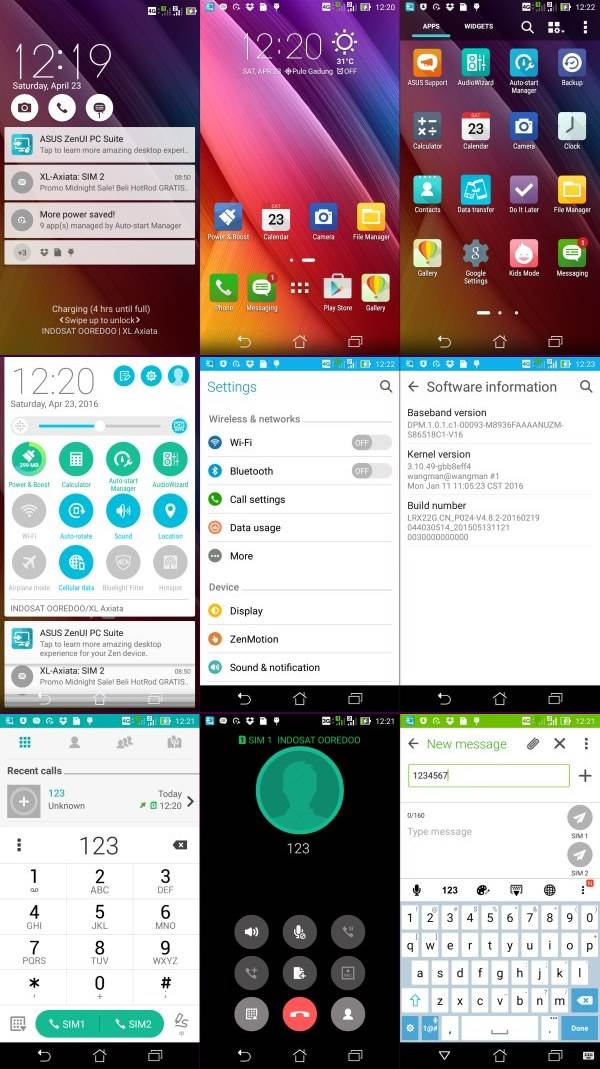
ASUS’s ZenUI has long been the envy of other non-ASUS Android users. It is, perhaps, the only skin that adds meaningful additions on top of stock Android while also improving the aesthetics. Cararoot.com, has developed a way that ports the stunning ZenUI ROM to your Redmi 2. The ROM is fast and smooth as reported by many users and testers.
In this tutorial, we will tell you how to install Android 5.0.2 ZenUI Lollipop ROM on Redmi 2 with complete steps and instructions. We also have a set of important tips that you have to keep in mind before proceeding to the tutorial on the next page. Don’t forget to backup your phone as you will have to wipe all your data during the installation process. The following tips are important as they will help the installation procedure to go smooth without any issues. Let’s get on with the tutorial now.

Update July 27 2016
– base Android 5.1.1
– Camera Work
– Jerrica Kernel by premaca
How To Install ASUS ZenUI Lollipop ROM in Redmi 2
- Before installing, Make sure you have updated to MIUI 7 5.1.1 Lollipop and Installing TWRP 3.0
- Download ROM ZenUI Lollipop ROM For Redmi 2
- Turn off / Switch your phone
- Press and hold Press Volume UP + Volume Down + Power Key at the same time to boot into Recovery mode.
- Do not forget to perform a nandroid backup. Goto backup option in TWRP and select all the partitions including System, Data, Boot, Recovery, EFS and swipe right to backup.
- After performing the ROM backup, go back to the TWRP main menu and tap the WIPE button.
- Next, swipe to Factory Reset. Wait for the wiping process to complete.
- Next, Goto TWRP main menu & goto Install option.
- Locate the ZenUI ROM downloaded zip file & tap on it. Now swipe to Install the ROM.
- Once the installation process is finished successfully, select Reboot System
If you are interested in helping the developer or installing the partially Zenui port on your Redmi 2, head over to the www.cararoot.com linked here.

